Dear customer: Thank you very much for buying our products; please read the details of the installation considerations before installation.
Avoid causing unnecessary problems because you do not understand or install negligence. Let the dehumidifier get a good use effect after lifting and make it convenient for maintenance construction in the future.
Please follow the below requirements.
Ceiling Dehumidifier Installation Security
1. Install the drilling bolts on the floor, check the drill bit specifications, and ensure that the type of drill bit used is consistent with the pre-install bolt specifications; Ensure that the drill bit is formed vertically when drilling, prevent serious deviation of drilling;
Before the bolt is installed, ensure that the drilling depth reaches the requirements, and fully expand and tighten.
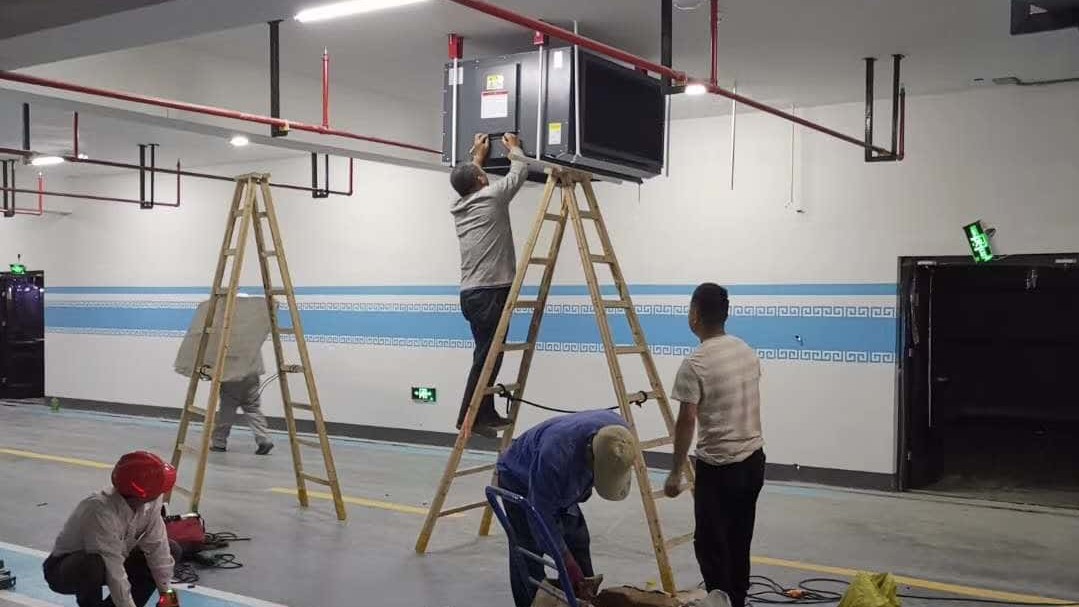
2. Entrust qualified HVAC installation and construction company to enter the site for installation to ensure construction safety during the installation process.
3. According to the space size of the use area, the layout of air inlet and outlet pipes, air supply outlets and air return outlets should be arranged reasonably.
The water discharge pipeline shall be well-designed, and the construction unit shall carry out construction according to the design requirements.
4. The installation location of the dehumidifier on the ceiling shall be considered for later maintenance and repair.
Space shall be reserved below the maintenance port to facilitate the later maintenance construction operations.
Horizontal Installation And Water Drainage
1. When hoisting the machine, the dehumidifier shall incline to the water drain pipe to ensure smooth drainage and prevent condensation water from flowing back.
PPR pipe or PE pipe is recommended for drainage. We do not recommend using hoses; hoses used for a long time, the aging will become hard and flat later.
2. Make the water storage curve of the drain port, so as to avoid water leakage caused by negative pressure condensate generated inside the machine when it is running, see Figure (1).

Figure(1)
3. The water drain pipe must be lower than the chassis of the machine, with a slight inclination and slope to ensure smooth drainage.
Shock Absorption And Noise Reduction
1. Rubber pad shall be installed on the lifting bar of the machine base, or spring shall be installed on the upper part to reduce vibration and noise, as shown in Figure (1).
2. In order to avoid resonance of pipes and ceiling with the machine during operation, the inlet and outlet air flanges must be softly connected to reduce vibration and noise:
a. The square flange can be softly connected with canvas, as shown in Figure (2).


Figure (2)
b. Circular flange, it is recommended to use rubber PVC corrugated hose as ventilation pipe, but the rigid PVC pipe cannot be directly installed, as shown in Figure (3).


Figure (3)
Pipeline Connection
1. In order to provide a smooth air outlet and reduce air supply resistance, the air duct of the air outlet of the equipment can only turn after the straight-line distance of 50-80CM.
Whether the circular or square pipes are connected and installed, the ratio of pipe diameter and machine flange volume should not be less than 80% or insufficient heat dissipation will result in frequent thermal protection of fans and compressors, affecting the stability of equipment operation, as shown in Figure (4).

Figure (4)
- When the machine is lifting and connecting the air intake and outtake duct, the matching problem of fan air volume and air pressure should be considered.
- It is better to provide data to your supplier when purchasing, so that the equipment can meet the use requirements of the air duct sent back to the air.
3. Choose the shortest path as far as possible to reduce elbow, climbing, diameter change, and other factors that hinder wind speed.
4. Pipe connection: Ensure that the pre-install air duct is not damaged, clean, and free of sundries.
According to the pipeline direction, the hole position of the pipe card should be positioned in a straight line, and ensure that the air pipe bracket or pipe hoop spacing meets the design requirements.
5. Fix the air pipe bracket or pipe hoop, connect the air pipe and make the joint of the pipe close to prevent air leakage.
Access Port And The Space Around The Machine
1. A rectangular access port shall be reserved on the side of the machine’s electrical box, to facilitate maintenance personnel to enter the lifting top to carry out maintenance and repair the equipment. The size of the access port shall not be less than 450mm×450mm.
2. For the convenience of maintenance, the installation position of the machine ceiling is on the side of the electrical box and about 30cm away from the access port. If the access port is too far away from the side of the fuselage electrical box, it will be difficult to expend during maintenance.
3. At least 5-10cm space shall be reserved on the top of the machine, in case the top cover can be removed smoothly during maintenance.
4. If one side of the fuselage other than the electrical box needs to rely on the wall, a space of 200mm must be reserved for an easy takedown.
5. The air filter must be cleaned regularly, and to keep enough space, pull the filter to clean.
See Figure (5).

Figure (5)
Use Power Supply And Leakage Protection Switch
According to the power of the equipment, match the appropriate power line diameter and air switch, and avoid the air switch trip, power line heating, etc., to ensure the safety of electrical appliances and use places.
Power Connection:
Three-Phase Power: 380V/50Hz
● Three-phase power connection: Check whether the power supply voltage output of 380V/50Hz meets the requirements, and refer to the machine circuit diagram and wiring terminals.
● Three fire-wire connections (L1, L2, L3), null wire connections (N), and ground wire connections (〒), guarantee the correct connection of the circuit.
● If the zero line is connected to the fire line, the computer board will be burned. Each power line is required to be measured by a multimeter to determine the corresponding connection.

Single-Phase Power: 220V/50Hz
● Single power connection: Check whether the power supply voltage output 220V/50Hz meets the requirements, and refer to the machine circuit diagram and wiring terminals.
● One fire-wire connection (L), null wire connection (N), and ground wire connection (〒), guarantee the correct connection of the circuit.
● If the zero line is connected to the fire line, the computer board will be burned. Each power line is required to be measured by a multimeter to determine the corresponding connection.

Connection Between Data Line Of Control Box And Host
1. The data wire of the control board is a 4-core wire. The machine terminals are the same as the On-Off controller, and the Numbers are 3-4-5-6.
2. Before connection, a multimeter shall be used to check whether the lines of the arranged data lines are intact without interruption and whether the signals are unblocked.
3. When the data line is connected, the machine output terminal and On-Off controller must be connected correspondingly, that is, 3 pairs of 3 and 4 pairs of 4.
Decoration During The Use Of Abuse
1. During the decoration will produce a lot of dust, the installed ceiling dehumidifier can only be adjusted, do not use it for a long time.
2. During the operation of the machine, dust will be continuously inhaled into the machine, resulting in blockage of the heat exchanger. If it is serious, it will not be able to be normally used, because it is very difficult to maintain and overhaul the ceiling dehumidifier.
● After the lifting, the test machine must be run to ensure the correct direction of return wind.
● In case of doubt, please communicate with your equipment supplier or engineer to meet the above lifting requirements.
● The construction and installation unit must install the equipment according to the above requirements. If there is any ambiguity, consult the equipment supplier for technical support.
The Case of Ceiling Dehumidifier After Hoisting


If you have any questions about the stalling work, don’t hesitate to get in touch with us!